- + Baby Carriers
- + Baby Wrap Slings
- + For Children
- + For Grown-Ups
- + Trainings
-
+
Tutorials
- Tutorial DidyKlick 4u
- Tutorial DidyKlick 4u Toddler
- Tutorial DidyFix
- Tutorial DidyFix Toddler
- Tutorial DidySnap 4u
- Tutorial Didy Meh-Dai (DidyTai)
- Tutorial Didy Onbuhimo
- Tutorial DIDYMOS Chest Belt for Back Carries
-
+
Tutorials Baby Wrap Sling
- Wrap Cross Carrying Position
- Variation on the Wrap Cross Carrying Position
- Kangaroo Carrying Position
- Cross Carry
- Double Cross Carrying Position
- Hip Carrying Position
- Variation on the Hip Carrying Position
- Poppins Hip Carry
- Hip Cross Carrying Position
- Kangaroo Hip Carrying Position
- Rucksack Carrying Position
- Back Wrap Cross Carrying Position
- Double Hammock
- DIDYMOS Video Tutorials at a Glance
- Tutorial Jersey Sling
- Tutorial BabyDos
- Tutorial DidySling
- + Babywearing Advisor
- + About DIDYMOS

DIDY-Tutorial: How do I tie my DIDYMOS Baby Wrap?
Yay! Your first baby wrap has arrived home. You may want to get started immediately and are wondering how to handle the several meters of cloth!
You’re in the right place. We’re here to guide you step by step through our baby wrap tutorials and how you the different ways you can tie your wrap – depending on the age of your child and your babywearing and wrapping experience.
Don’t worry if you are a beginner. It’s normal to feel a bit lost when you get started. Our years of experience have shown us: With a little practice, you will quickly become familiar with handling the wrap. Soon, tying will become a breeze.
What’s next? Grab your wrap and a doll or a stuffed animal and get started with your new skills.
Ready? Go!
Here’s a few words of advice before you get started
- Please be sure to read our safety guidelines before tying the wrap for the first time. If you follow our tips, you will make sure your baby is safe in the wrap! Close to your body, your baby is always in view and it is easier for you to respond early to baby’s needs.
- If you want extra reassurance or have any questions our tutorial didn’t answer, we advise that you find a qualified babywearing consultant to help you.
Carries for Newborns and Babies: Upright Front Positions
For newborns, premature or (small) babies, we recommend a front carrying position which makes sure the baby’s little body is well supported. The front carry allows you to keep your baby in view and to respond early to your child’s needs.
Front Wrap Cross Carry:
A classic carrying method, the Front Wrap Cross Carry has become an all-time favourite. It is best suited for little babies and babywearers with little or no experience.
Front Wrap Cross Carry Variation:
Once you master the FWCC, you may want to try this hop on, hop off variation. The small but important difference: The wrap can be pre-tied before you put your child in.
Kangaroo Carry:
A napping-friendly carry that allows you to easily "pop" baby in and out of the wrap throughout the day. Plus, with airy sides, it is also a great carry for summer babywearing.
Double Cross Carry:
The Double Cross Carry is a great way to stay comfortable while traveling or if you use public transport frequently.
DidyTip
Make sure to position your child at “kissing height”, meaning that your baby’s head is close enough to kiss.
Please bear in mind
When you carry your baby in a front position, make sure that she or he can watch your face – in a tummy-to-tummy position. The wrap should support the head, neck and back. It is important that the back remains rounded.
Side Carries on the Hip - eight to ten weeks+
Once your baby has better head control, you may want to try hip carries. Most babies enjoy riding on your hip as it gives them a better view of the world all while they feel safe and protected.
Traditional Hip Carry:
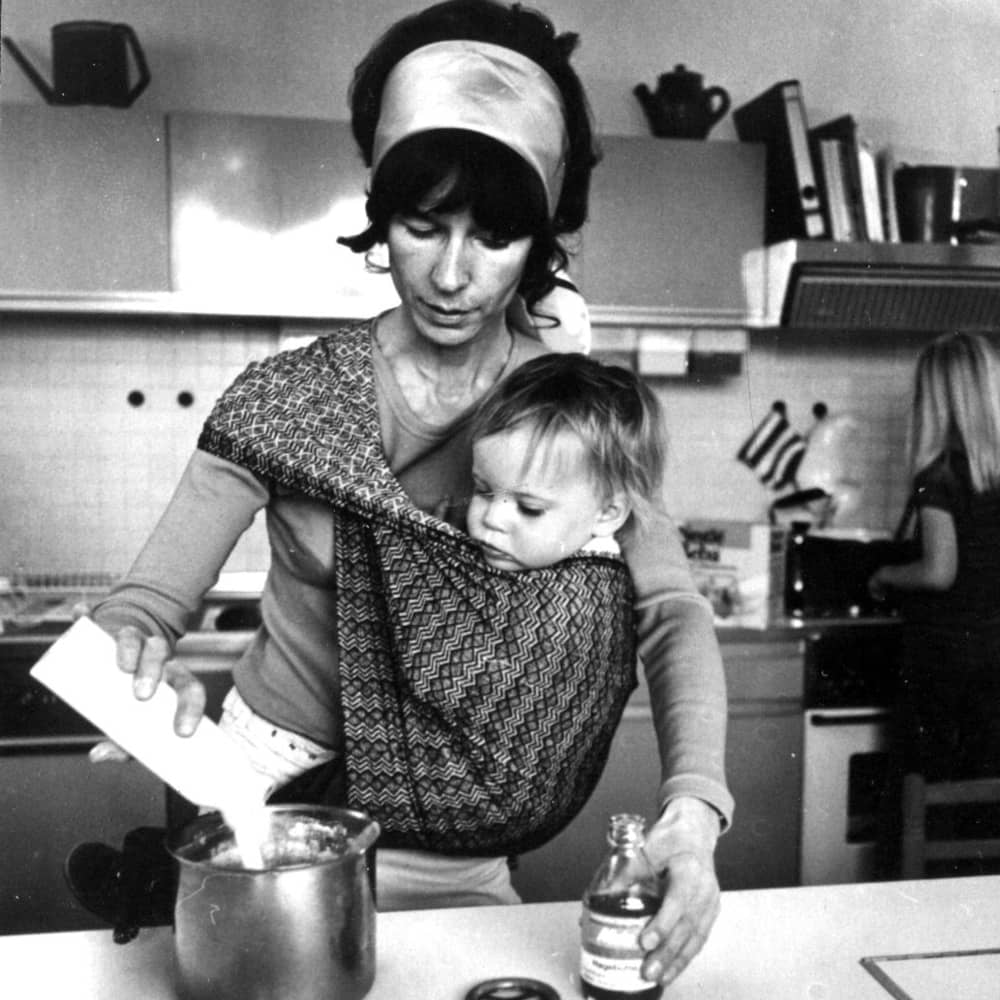
Carrying like the 1970s! The classic hip carry is well suited for super short wraps sized 1 or 2 – convenient and super easy.
Variation of the Hip Carry:
A practical option for a classic hip carry with a long wrap.
Poppin’s Hip Carry:
Sounds like a fantasy film and is at least as exciting: the Poppin’s Hip Carry is a double layer tying method on the hip - ideal for bigger and heavier babies and toddlers.
Hip Cross Carry:
In the Hip Cross Carry the fabric cross is positioned at your hip.
Kangaroo Hip Carry:
Baby is seated in a pouch at your side and can be popped in and out easily – without untying the knot. Kangaroo Hip Carry
DidyTip
Looking for carries that you can tie with your short wrap? Then the traditional hip carry is a great option for you. Alternatively, you can purchase a couple of sling rings and turn your wrap into a ring sling.
Back Carries – from three months on
New possibilities: Your baby is seated on your back and you have your hands and your front free to get on with what you have to do. From this age on, your baby enjoys being carried on your back. And your back will thank you, too. Give it a try!
Rucksack Carry:
This simple carry on the back provides extra safety for your little adventurers who enjoy being carried on your back.
Wrap Cross Backcarry:
For extra safety for little adventurers, the Wrap Cross Backcarry is a great choice.
Double Hammock Carry:
A back carry with a horizontal pass across your chest, the Double Hammock Carry offers extra support and comfort for wearing a heavier toddler or for extended carrying hours.
DidyTip
We recommend dressing your child particularly warm when you wear them on your back during the colder season. Regularly check if their little feet are still warm. A DIDYMOS babywearing coat offers warmth for both of you. Or wrap a BabyDos cover around your child for protection against wind and weather.
Do you need additional advice?
In this case, we suggest finding a babywearing consultant or course in your neighbourhood. You’re also welcome to join our DIDY Community on Facebook, where other babywearing fans will be pleased to give advice or show you fancier tying methods.


